How to Capture Stunning Aerial Footage with Your Dji Mavic Drone
Capturing stunning aerial footage with your Dji Mavic drone opens up a new world of creativity and perspective, allowing you to tell compelling stories from above. Whether you're a seasoned filmmaker or an enthusiastic beginner, mastering the art of drone photography can transform your visual storytelling. This guide will explore the best techniques and tips for leveraging your Dji Mavic’s capabilities, enabling you to create breathtaking videos and photos. We will delve into optimal flight settings, composition strategies, and editing tricks that will take your aerial imagery to the next level. Join us as we embark on this journey to unlock the full potential of your Dji Mavic drone, turning ordinary scenes into extraordinary visual masterpieces.
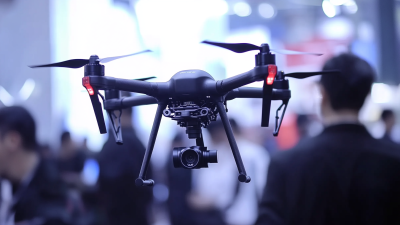
Choosing the Right DJI Mavic Drone for Aerial Footage
When it comes to capturing breathtaking aerial footage, selecting the right
DJI Mavic drone is the first and most crucial step. DJI offers a range of Mavic models, each with unique features tailored for varying levels of experience and specific filming needs. For instance, the
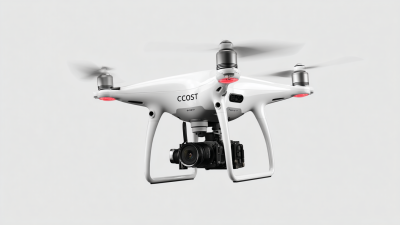
Mavic Air 2 is an excellent choice for beginners due to its user-friendly controls and impressive
4K video capabilities, while the
Mavic 2 Pro, with its larger sensor and adjustable aperture, is perfect for professional filmmakers looking for superior image quality.
Tip: Before purchasing, consider what type of footage you aim to capture. If you’re filming landscapes or architecture, look for a model that boasts excellent stability and a high-resolution camera. Also, the lightweight design of Mavic drones makes them portable, but don’t underestimate the importance of battery life. Choose a model that provides
extended flight times to maximize your shooting opportunities.
Tip: Additionally, think about the drone's advanced features. Drones like the
Mavic 3 offer intelligent shooting modes such as ActiveTrack and Point of Interest, enabling you to create captivating cinematic shots effortlessly. Investing in a drone with these capabilities can elevate your aerial footage and expand your creative potential significantly.
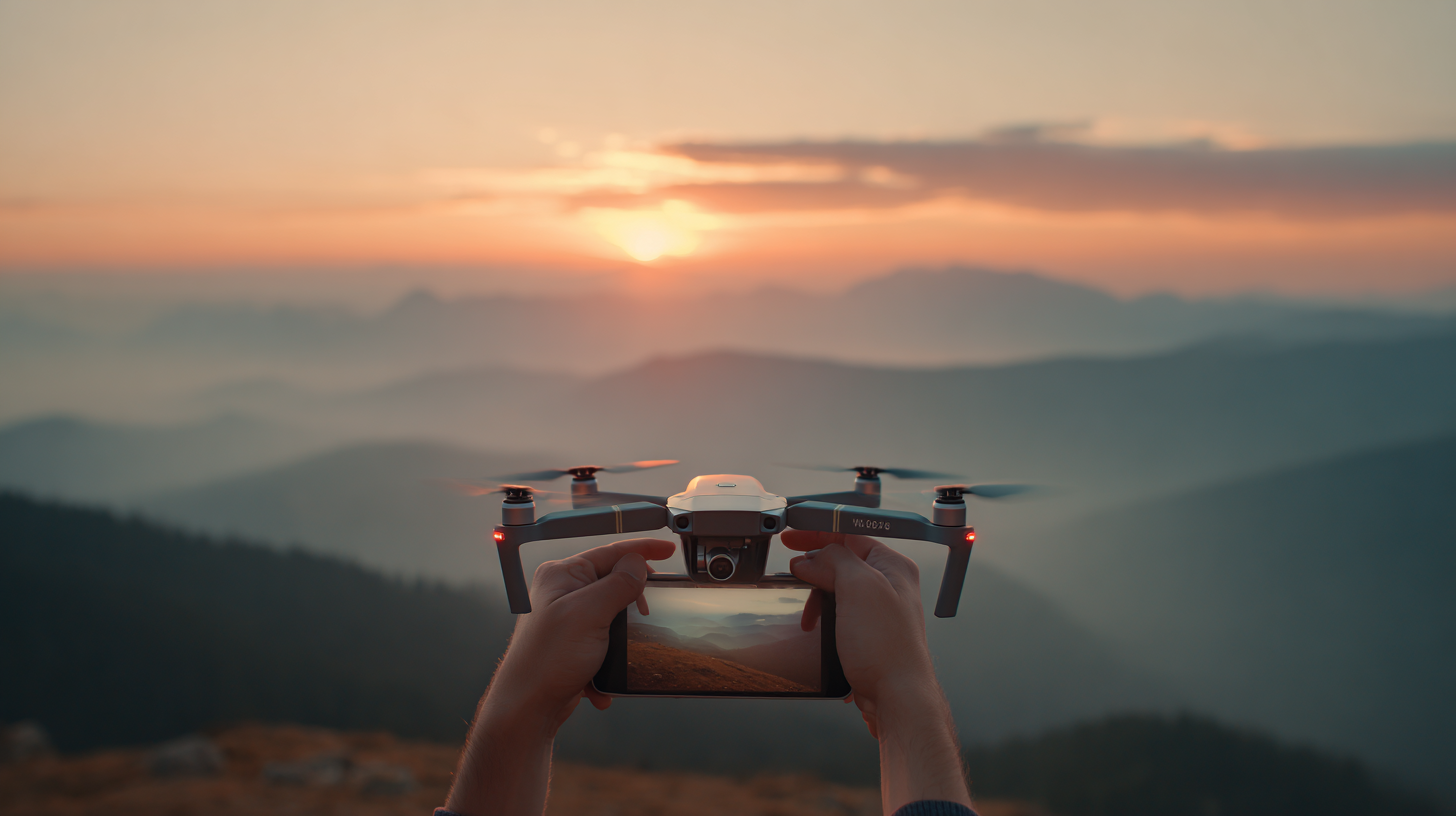
Essential Pre-Flight Preparations for Successful Drone Shooting
Before you take to the skies with your drone, essential pre-flight preparations are key to capturing breathtaking aerial footage. Check your equipment thoroughly; ensure that your drone's battery is fully charged, propellers are in good condition, and that your camera settings are optimized for the specific lighting and environment you'll be filming in. Familiarize yourself with the drone's controls and features, as well as any necessary updates to the firmware. This groundwork will not only enhance your filming experience but also promote safe flying practices, crucial in the current landscape where drones are increasingly involved in significant security and military operations.
Moreover, understanding local regulations and airspace restrictions is vital. As drone technology evolves, so do the guidelines surrounding its use, especially in sensitive areas that could include military or governmental sites. Always conduct a thorough check of the airspace conditions to avoid potential hazards or conflicts, particularly in regions that have experienced recent unrest or military actions. With the right preparations in place, you'll be better equipped to achieve stunning results while navigating both the creative and practical challenges of aerial videography.
How to Capture Stunning Aerial Footage with Your Dji Mavic Drone - Essential Pre-Flight Preparations for Successful Drone Shooting
| Preparation Step |
Description |
Estimated Time |
Checklist |
| Battery Check |
Ensure all batteries are fully charged and functioning properly. |
15 minutes |
✔️ Charged batteries
✔️ Spare batteries |
| Firmware Update |
Check for and install any firmware updates for the drone and remote controller. |
30 minutes |
✔️ Latest firmware installed |
| Camera Settings |
Adjust camera settings according to the shooting environment (resolution, frame rate, etc.). |
10 minutes |
✔️ Desired resolution
✔️ Frame rate settings |
| Location Scouting |
Scout the area for potential obstacles and select the best flying spots. |
1 hour |
✔️ Clear flying area
✔️ Emergency landing spots |
| Weather Check |
Assess wind conditions, precipitation, and overall weather to ensure safe flying. |
15 minutes |
✔️ Clear weather
✔️ Wind speed acceptable |
Mastering Camera Settings for Stunning Aerial Imagery
When it comes to capturing stunning aerial imagery with your DJI Mavic drone, mastering the camera settings is crucial. According to a report from the Consumer Technology Association, more than 46% of drone users prioritize image quality above all else, making the right camera adjustments essential for breathtaking results. Start by setting your drone to shoot in manual mode. This allows you to control the shutter speed, ISO, and aperture independently, giving you the flexibility to adapt to varying lighting conditions and achieve the best exposure.
Utilizing the right frame rate is another key factor. The Association of Unmanned Vehicle Systems International highlights that shooting at 60 frames per second can significantly enhance the smoothness of your footage, particularly during high-speed maneuvers. Additionally, adjusting the white balance based on your surroundings is critical; whether you’re flying in bright sunlight or overcast conditions, fine-tuning this setting prevents unwanted color casts and helps maintain the integrity of your images. By paying careful attention to these camera settings, you'll be well on your way to capturing the stunning aerial footage that will amaze your audience.
Aerial Footage Settings Comparison
This chart illustrates the comparison of different camera settings used for aerial footage captured with drones. The data shows the impact of ISO, shutter speed, and aperture on the overall quality of imagery.
Creative Techniques for Capturing Unique Aerial Perspectives
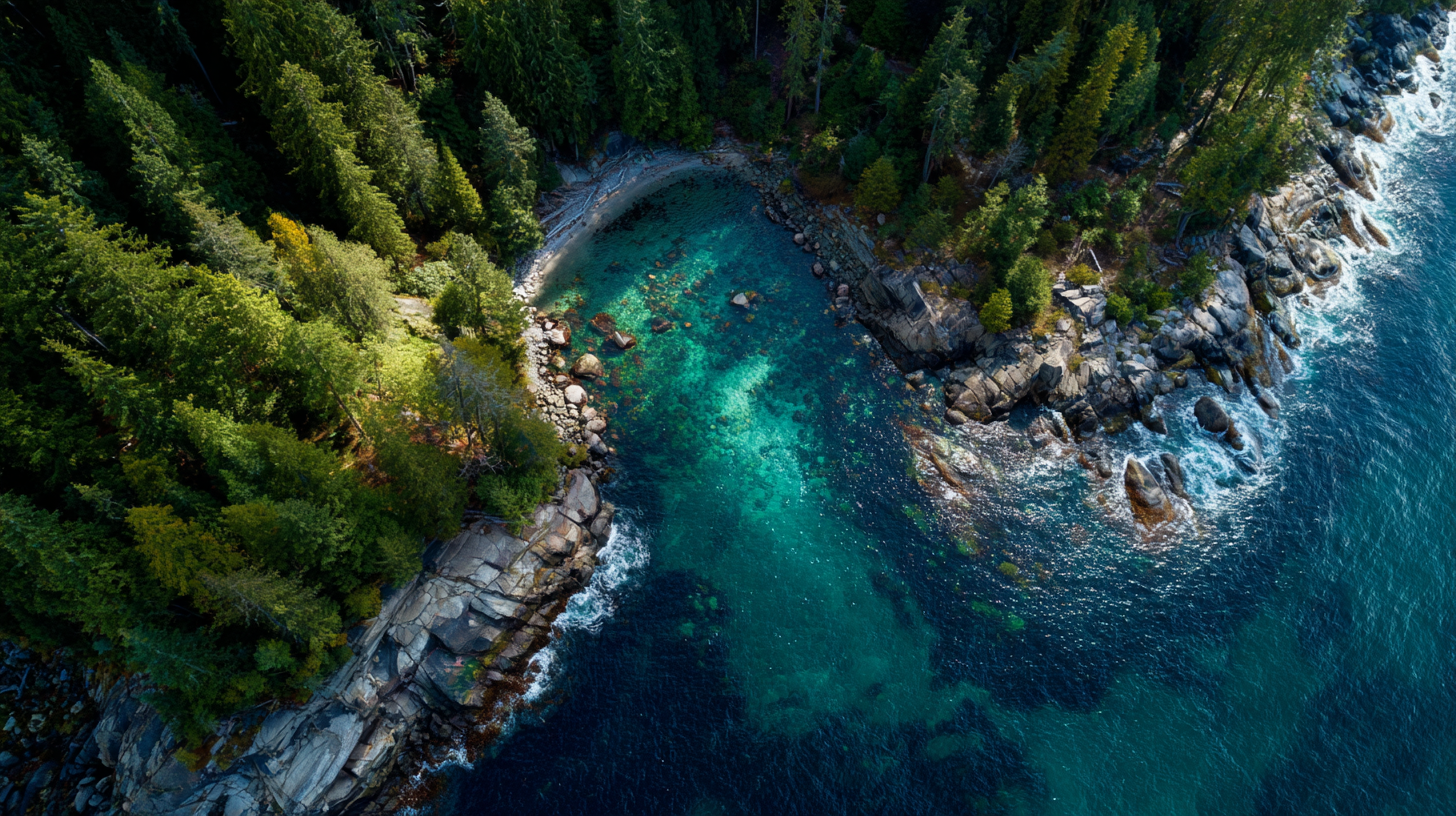
Capturing stunning aerial footage with your DJI Mavic drone is all about finding unique perspectives that bring your visual storytelling to life. One of the best creative techniques is to utilize the "poV" shot, where you fly the drone at eye level with your subject. This approach can create a powerful connection between the viewer and the scene, providing an intimate view of landscapes or events. By combining this technique with slow, sweeping movements, you can portray a sense of grandeur that draws the viewer into the experience.
Another effective method is to explore various altitudes and angles. Instead of always shooting from directly above or at standard heights, experiment with lower elevations or dramatic swoops that showcase the textures of the terrain below. The Mavic’s obstacle avoidance sensors will help you navigate through tighter spaces, allowing for inventive approaches to hidden gems in your surroundings. Creating contrast by hovering over interesting textures—like rocky cliffs, lush forests, or urban landscapes—can highlight the beauty of the environment, adding depth and intrigue to your footage.
Editing Tips to Enhance Your Aerial Footage Quality
When it comes to editing your aerial footage captured with a Dji Mavic drone, there are several tips and tricks to enhance the overall quality. First, consider using color grading techniques to bring out the vibrancy of the skies and landscapes. Tools like Adobe Premiere Pro or DaVinci Resolve offer presets and manual controls that allow you to adjust the saturation, contrast, and exposure, making your footage more visually appealing. A well-graded clip can transform an ordinary shot into a breathtaking visual experience.
Another essential tip is to pay attention to stabilization. Even though the Mavic drones have built-in stabilization features, additional digital stabilization can further smooth your footage in post-production. Programs such as Final Cut Pro and After Effects provide stabilization options that can eliminate any minor jitters caused by wind or minor movements during flight. This ensures your audience can fully immerse themselves in the stunning aerial views without distractions.
Finally, don’t overlook the power of adding sound design or ambient music to your aerial videos. The right soundtrack can elevate the emotional impact of your footage, making the viewer feel as if they're soaring high above the landscape. Selecting the right audio track and synchronizing it with key moments in your video can create a more engaging and memorable experience for your audience.