How to Maximize Your Aerial Photography Skills with the Dji Mavic 3
In the ever-evolving world of aerial photography, the
Dji Mavic 3 stands out as a game-changer, offering
photographers unprecedented capabilities
to elevate their craft. According to the latest industry reports, the aerial photography market
is projected to reach $2.24 billion by 2026, driven by
advancements in drone technology and growing demand across various sectors, including
real estate, tourism, and filmmaking.
With its enhanced camera system and extended flight time, the Dji Mavic 3
provides users with exceptional image quality and versatility,
making it an essential tool for both enthusiasts and professionals alike. Mastering the drone's features not
only enhances the quality of your shots but also allows you to capture unique perspectives that resonate with viewers.
This guide aims to provide you with essential tips to maximize your aerial photography skills using the
Dji Mavic 3, enabling you to stay ahead in this competitive field.
Understanding the DJI Mavic 3: Key Features for Aerial Photography
The DJI Mavic 3 has revolutionized aerial photography with its state-of-the-art features designed for both amateurs and professionals. One of the standout features is its dual-camera system, which includes a 20MP Hasselblad camera capable of capturing stunning 5.1K video at 50fps. According to industry reports, drones equipped with high-resolution cameras are becoming increasingly popular, with a projected market growth rate of 14.9% annually in the aerial imaging sector through 2026. This highlights the demand for high-quality aerial content, emphasizing the Mavic 3's role in meeting these needs.
Another key feature of the Mavic 3 is its advanced obstacle avoidance system, which employs omnidirectional sensing. This technology not only enhances safety but also allows photographers to focus on composition without the fear of collisions. Research indicates that about 40% of drone accidents occur due to pilot error, often during complex maneuvers. The Mavic 3's intelligent flight modes and automated HDR capabilities support aerial photographers in obtaining consistently high-quality images with minimal effort, further streamlining the creative process.
Mastering Camera Settings for Optimal Aerial Shots with the Mavic 3
When it comes to mastering aerial photography with the DJI Mavic 3, understanding and adjusting the camera settings is crucial for capturing stunning shots. Start by familiarizing yourself with the camera's manual mode, which allows you full control over the shutter speed, ISO, and aperture. A good rule of thumb is to keep the shutter speed at least double the frame rate to minimize motion blur, especially in dynamic environments. For instance, if you’re shooting at 30 frames per second, set your shutter speed to around 1/60 seconds.
Moreover, adjusting the ISO settings can significantly affect the quality of your images. In bright daylight, keep the ISO low to maintain image clarity and reduce noise. However, as light decreases, you can gradually increase the ISO while still keeping an eye on image grain. The Mavic 3's aperture can also be altered to achieve the desired depth of field; a wider aperture may blur backgrounds and focus on subjects, while a narrower aperture is ideal for landscape shots to keep everything sharply in focus. By mastering these settings, you'll elevate your aerial photography and produce breathtaking visuals with your Mavic 3.
How to Maximize Your Aerial Photography Skills with the Dji Mavic 3
| Setting |
Recommended Value |
Purpose |
| ISO |
100 - 400 |
Minimize noise in images |
| Shutter Speed |
1/250 - 1/1000 sec |
Capture motion without blur |
| Aperture |
f/2.8 - f/5.6 |
Achieve optimal depth of field |
| White Balance |
Daylight (5500K) |
Maintain natural color tones |
| Shooting Mode |
Manual |
Full control over settings |
Choosing the Best Locations and Times for Stunning Aerial Photography
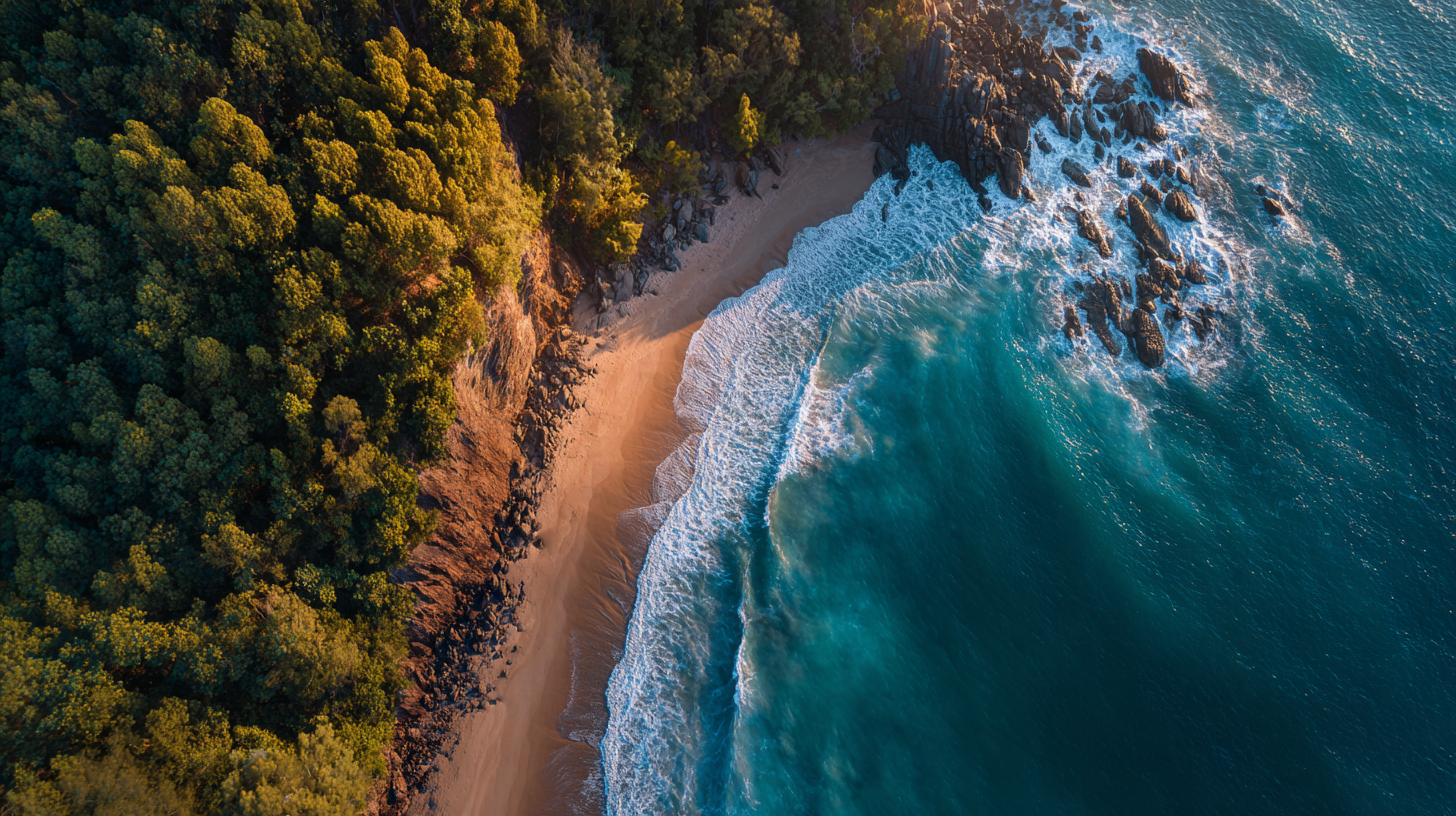
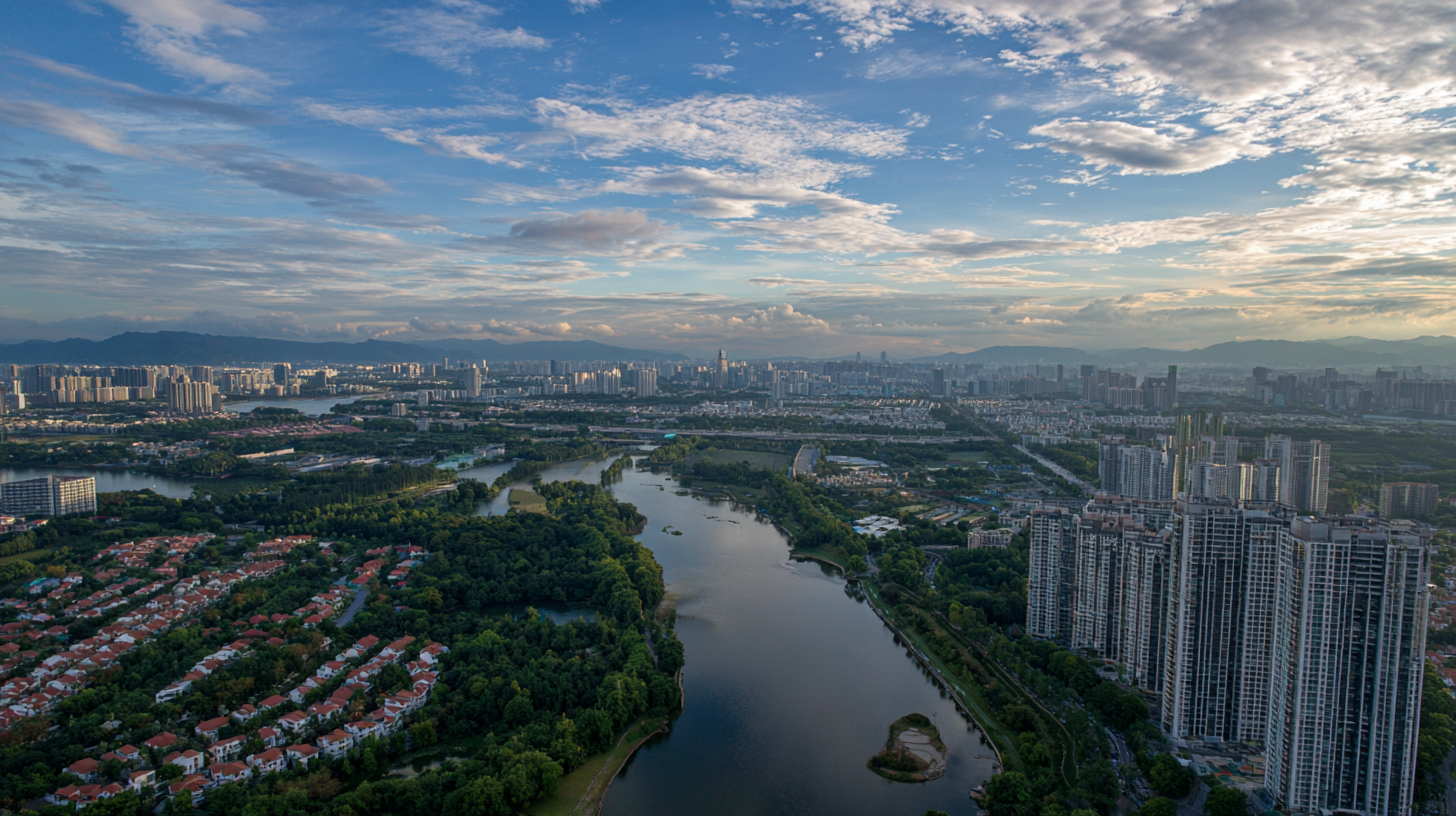
When it comes to aerial photography, choosing the best locations and times can significantly elevate the quality of your shots, especially with advanced drones like the DJI Mavic 3. Research indicates that natural light plays a crucial role in photography. According to a recent industry report, 85% of professional photographers believe that golden hour—shortly after sunrise or before sunset—provides the most flattering light conditions. This time creates a soft, warm glow that enhances landscape colors and textures, making it ideal for capturing stunning aerial images.
In addition to timing, location selection is paramount. Popular sites such as national parks, coastal areas, and urban landmarks offer visually striking landscapes that entice photographers. A study by the International Society of Aerial Photography noted that locations with varied topography and interesting foreground elements yield a 60% increase in viewer engagement on social media platforms. Therefore, scouting potential spots ahead of time and understanding the unique features of each location can lead to elevated creativity and results in your aerial photography outcomes with the DJI Mavic 3.
Techniques for Composition and Framing in Aerial Photography
Aerial photography offers a unique perspective that can transform ordinary scenes into extraordinary visuals, especially when using advanced drones like the DJI Mavic 3. One of the pivotal components of aerial photography is mastering the art of composition and framing. According to a 2022 report from Professional Photographer Magazine, images that adhere to compositional guidelines, such as the rule of thirds or leading lines, see a 30% increase in viewer engagement compared to those that don't. This emphasizes the importance of planning your shots with these techniques in mind.
When framing your aerial shots, consider the angle and height of your drone. The DJI Mavic 3 boasts a robust flight control system, which allows for precise adjustments in altitude and orientation. Research conducted by the Drone Racing League indicates that photographers who utilize varying altitudes tend to capture more dynamic images, with over 70% of top-performing aerial shots taken from unconventional heights. Additionally, integrating natural elements into your composition—like incorporating foreground objects or using negative space—can significantly enhance visual interest. By creatively applying these compositional techniques, photographers can elevate their work and create stunning aerial imagery that stands out in a saturated market.

Post-Processing Tips to Enhance Your Aerial Photos from the Mavic 3
Post-processing is a vital aspect of aerial photography that can elevate your images captured with the DJI Mavic 3. After downloading your RAW files, use software like Adobe Lightroom or Photoshop for initial adjustments. Begin by calibrating your white balance to ensure accurate colors. This simple tweak can significantly impact the viewer's perception of your aerial shots, making landscapes appear more vibrant and true to life.
Next, focus on enhancing the dynamic range of your photos. Utilize the highlight and shadow sliders to recover details from bright skies and dark terrains. This balance can add depth to your images, making them more visually appealing. Don’t forget about sharpening; applying a subtle amount can help to bring out the fine details in the landscape. Finally, consider using graduated filters to enhance skies or foregrounds selectively. This technique allows you to create a more balanced exposure, drawing attention to the beauty of the composition while ensuring that the stunning vistas captured by your Mavic 3 are showcased in their full glory.